 Skip to content

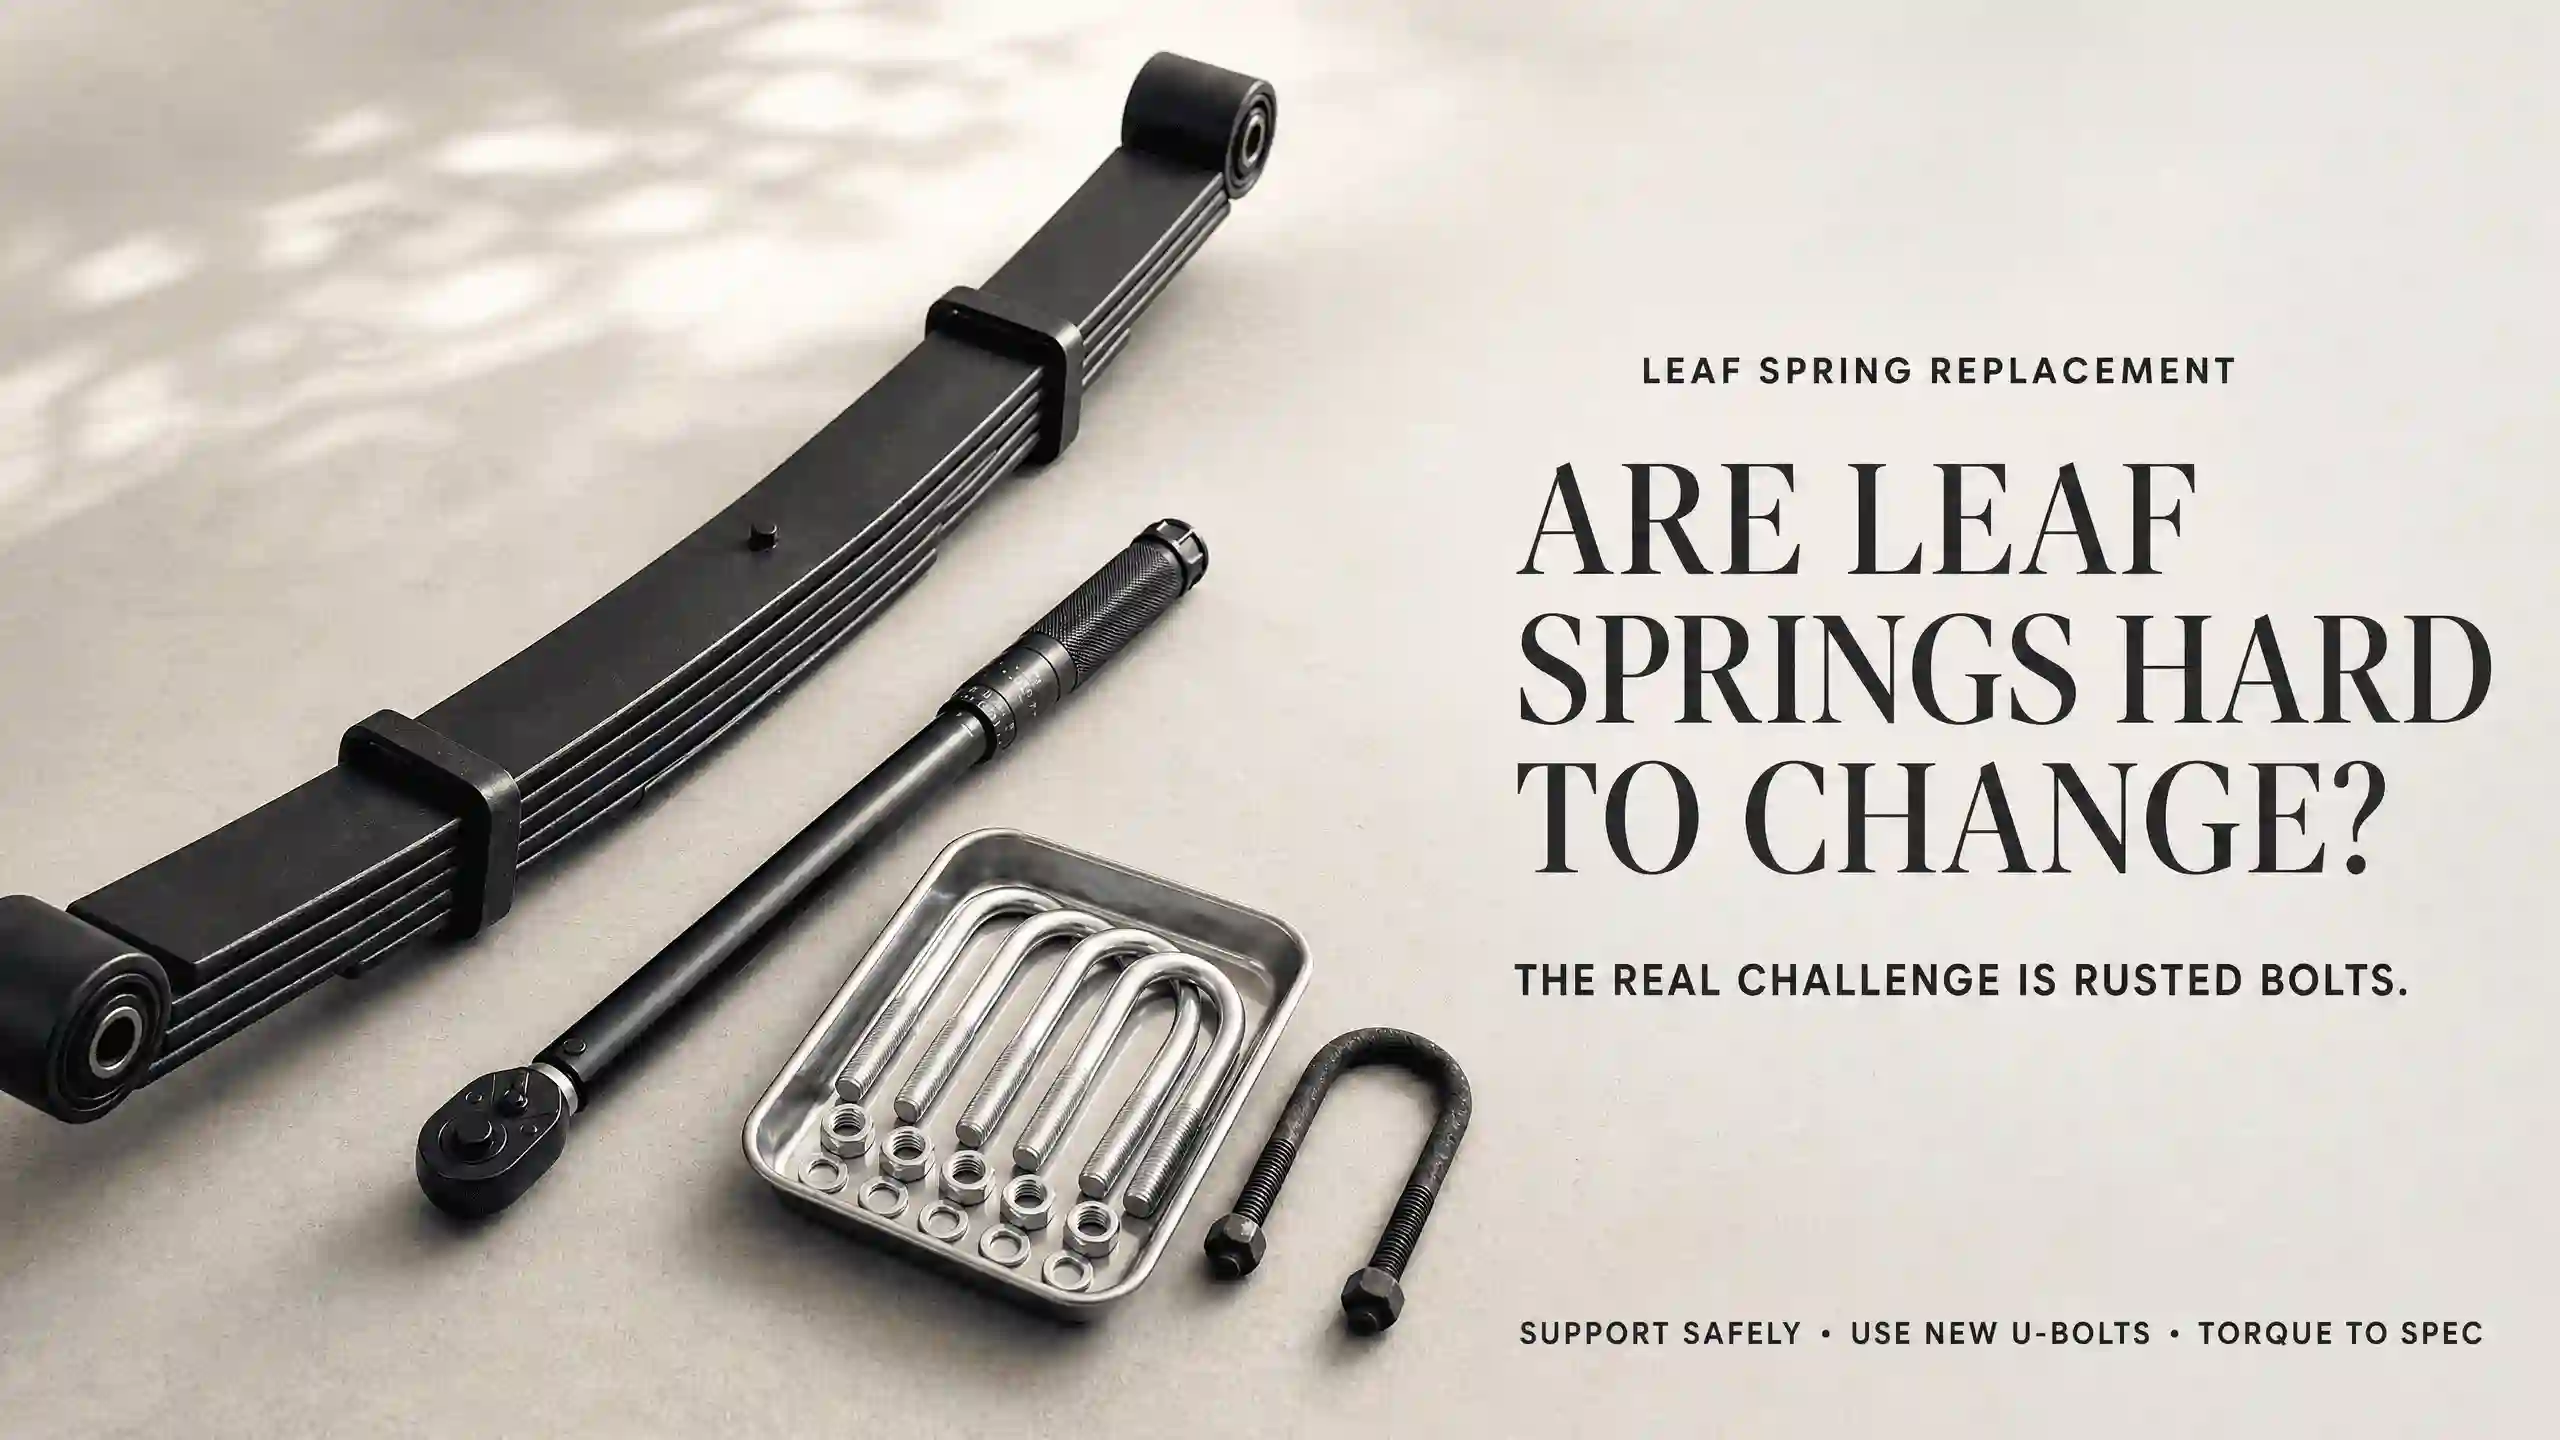
You just got a quote from the shop to replace your leaf springs—and it stung. So now you’re staring at those stacked steel plates, wondering: it’s just a few pieces of steel and some bolts. How hard can it really be?
Honestly, the technique isn’t complicated. But there are a few things you should know before diving in.
Quick Answer
Whether leaf springs are hard to change comes down to one factor: how badly the bolts are rusted.
If the bolts come loose without a fight, you’ll be done before lunch. If they’re seized solid, you could be wrestling with them all day. It’s a physical job—leaf springs are heavier than most people expect—but if you’ve done your own brake pads or basic maintenance, leaf springs won’t be beyond you.
As a general rule, truck leaf springs are tougher to swap than small trailer springs, though some trailer leaf springs can be tricky too due to tight clearances.
What You’ll Need
– Floor jack
– Two or more jack stands
– Socket set
– Torque wrench
– Penetrating oil (spray it the night before for best results)
– Pry bar and hammer
– New replacement leaf springs
– New leaf spring U-bolts
– New leaf spring bushings (depending on condition)
Pro Tip: An impact wrench and a breaker bar aren’t strictly required, but if you run into stubborn bolts, they’ll save you a lot of time and frustration.
How to change
The overall process is straightforward: jack up the vehicle, remove the mounting bolts, take out the old spring, put in the new one, and torque everything back down. Take photos as you go—it helps a lot when you’re trying to remember how things go back together.
1. Jack Up and Support the Vehicle
Park on flat ground and engage the parking brake. Use your floor jack to lift the vehicle by the frame—not the axle—then place jack stands under the frame. Lower the axle slightly so the leaf springs are in a relaxed, unloaded state.
This step isn’t complicated, but do not skip the jack stands. Don’t trust a hydraulic jack alone.
2. Remove the U-Bolts and Retainer Plate
Ideally, you hit the bolts with penetrating oil, wait 15 minutes, and they break free with a socket —easy. In reality, if the bolts are rusted solid, don’t waste an hour fighting them. Cutting them off is often the faster move.
3. Disconnect the Mounting Points
Work through the bolts connecting the spring to the shackle and the hanger. Rubber bushings tend to harden over time and can bond themselves to the metal sleeves. You’ll likely need a pry bar to work them loose, or just cut them out if they refuse to cooperate.
This is usually the hardest part of the job. Be patient—some careful tapping with a hammer or controlled heat may be needed to free seized pins.
4. Install the New Spring and Bushings
Getting the old spring out is the easy part. Putting the new one in means getting everything lined up: the center bolt on the leaf spring needs to seat into the hole on the axle, and the front and rear eyes need to align with the holes on the frame hangers. Replace the bushings at the same time if they’re worn.
Because the spring has an arch to it, the holes won’t always line up on their own. You’ll probably need to use your jack to nudge the axle up or down slightly until everything aligns. Doing this alone is tough—having one person hold the spring in position while another threads the bolts makes it far more manageable.
5. Reassemble
Tighten the U-bolts in a crisscross pattern, then use your torque wrench to bring them to the manufacturer’s spec. After about 100 kilometers of driving, go back and recheck the torque. New leaf springs settle slightly after installation, and the bolts can work loose.
Common Mistakes to Avoid
– Reusing old U-bolts: U-bolts stretch when torqued down. Once they’ve been tightened and loosened, they’ve permanently deformed. Never reuse them—always install new ones.
– Skipping the bushings: If you change the springs but the squeaking or clunking is still there, worn bushings or shackles are usually the culprit.
– Only replacing one side: Left and right springs fatigue differently. Replacing just one side can leave your vehicle sitting crooked and handling unpredictably. Always do both sides at the same time.
When to Skip the DIY Route
Doing it yourself saves money, but sometimes calling a professional leaf spring repair shop is the smarter move:
– You’re working alone and have never done any mechanical work before
– The bolts are completely seized and you don’t have cutting or heating tools
– The frame mounting holes are worn or elongated, which may require welding or machining
– You don’t have jack stands or the proper tools
FAQ
Q: Do I have to replace the bushings when changing leaf springs?
A: Not always. But if the bushings are cracked, dried out, or making noise, replace them while you’ve got everything apart. It’s much easier than doing it later.
Q: Do I have to replace the U-bolts?
A: Yes, always. U-bolts deform permanently when torqued. Reusing them risks loose fasteners and spring shift under load.
Q: The new springs feel stiffer—is that normal?
A: Yes. New leaf springs have a fuller arch and haven’t settled yet. The ride will feel firmer, especially when the vehicle is unloaded. They’ll soften slightly after a few hundred kilometers.
Q: Do I need to replace both sides at the same time?
A: Yes. Replacing only one side leads to uneven ride height and can affect handling and stability.
Q: How long does a leaf spring replacement take?
A: Half a day is a reasonable expectation for someone with basic mechanical experience. Don’t rush it—take your time and prioritize safety.
Patience is the most important tool you’ll need. If you hit a wall—a bolt that won’t budge, a part that won’t align—there’s no shame in calling a professional. If you need high-quality replacement leaf springs, feel free to reach out to Everlasting. As an established manufacturer in China, we’ve been in the leaf spring and automotive suspension industry for years, and we’re fully equipped to cover your sourcing needs.